


From Zero to Creative Hero: How To Get Started with Digital Art On Your iPad
When was the last time you looked at your iPad and wondered ‘What else can it do?’. Or the last time you watched a YouTube video promising to show you ’10 Creative Ways to use your iPad’. Or perhaps t

If the answer to any of those questions came out affirmative and you want to do something creative on your iPad, then keep reading this article (instead of saving it).
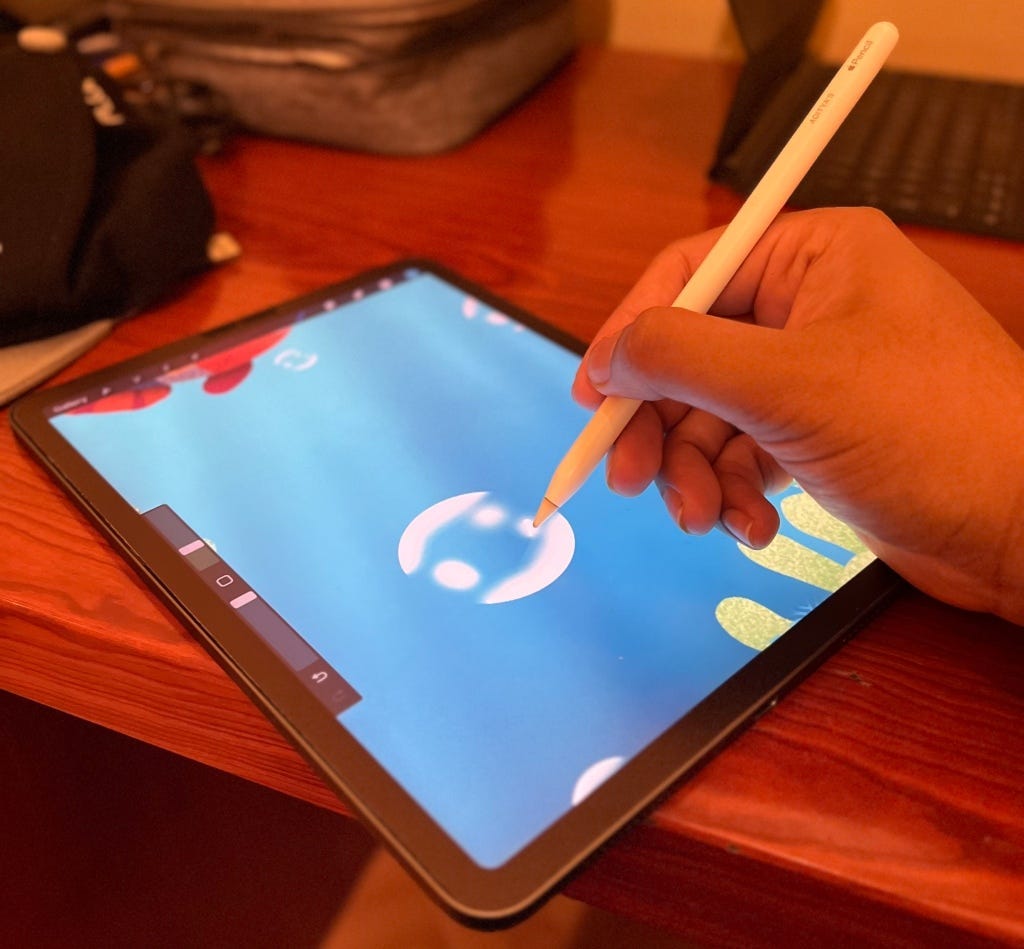
In this story, I want to give you an ‘iPad Digital Art 101’ Guide to help you unleash your creative side (even if you think it’s non-existent). It’s not the iPad that needs to have a creative side but you who needs to unlock it within you while using your iPad. And once you get started, there is a good chance you will fall in love with your iPad all over again.
And so three basic questions may arise:
What iPad do I need to get started?
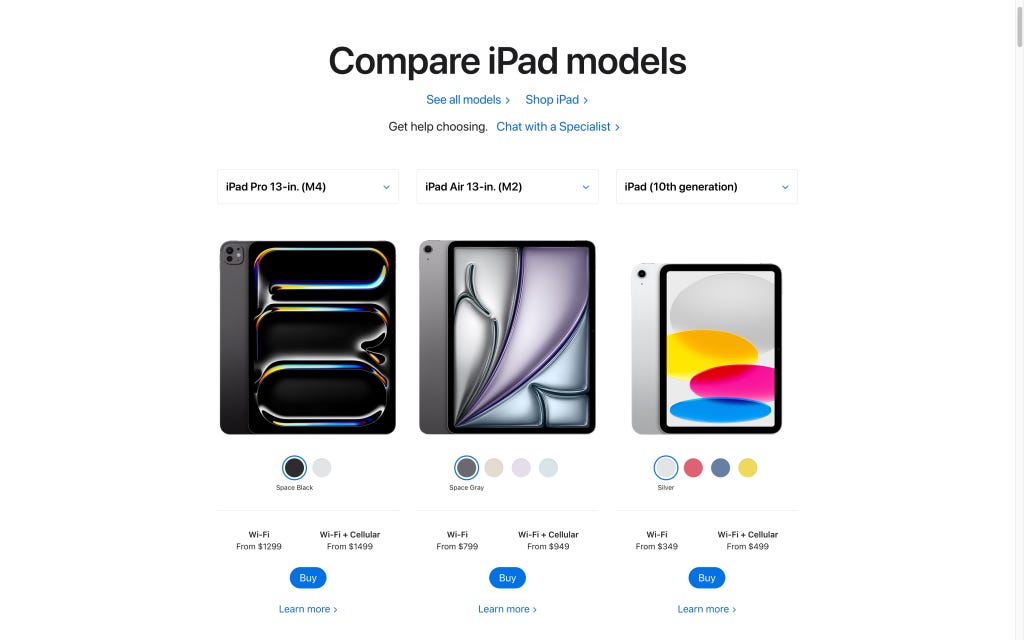
I truly believe that the iPad is a masterpiece in the world of Tech — carrying the mobility of an iPhone with the power of a Mac. You might have the iPad Pro, the iPad Air, the iPad Mini, or perhaps just the baseline iPad. It simply doesn’t matter what generation or size your iPad is, as long as it is compatible with absolutely any version of Apple Pencil (or even a third-party one like Logitech Crayon), you are good to go on this iPad Art Adventure with me!
But yes, a stylus would be necessary.
Do I need to buy any App from the App Store?
Procreate is recommended but not mandatory. So in short, you don’t need to pay for any app or app subscription to get started. You can do this later as you gain confidence in your artistic skills. We shall cover this in detail in our next section.
What If I suck at it…
Hey relax, we are not even 500 words into this story so let’s not jump in the Well of Pessimism. This Guide is meant for All iPad Users and I meant it. By the end of this… (calculating)… 2500 words story, you will have taken at least one actionable step to get started with Digital Art on your iPad.
Just a quick detour… if you like such kind of tech stories, consider signing up for my email newsletter. It’s 100% FREE and will remain for all my lovely audience.
Subscribe to Aditya's Tech Newsletter!
Subscribe to Aditya's Tech Newsletter! Hey there! If you are interested in getting stories from the 🧑💻Tech space…adityadarekar.medium.com
So, shall we begin?
A Guide For New Digital Artists
Step 1: The Necessary Accessories
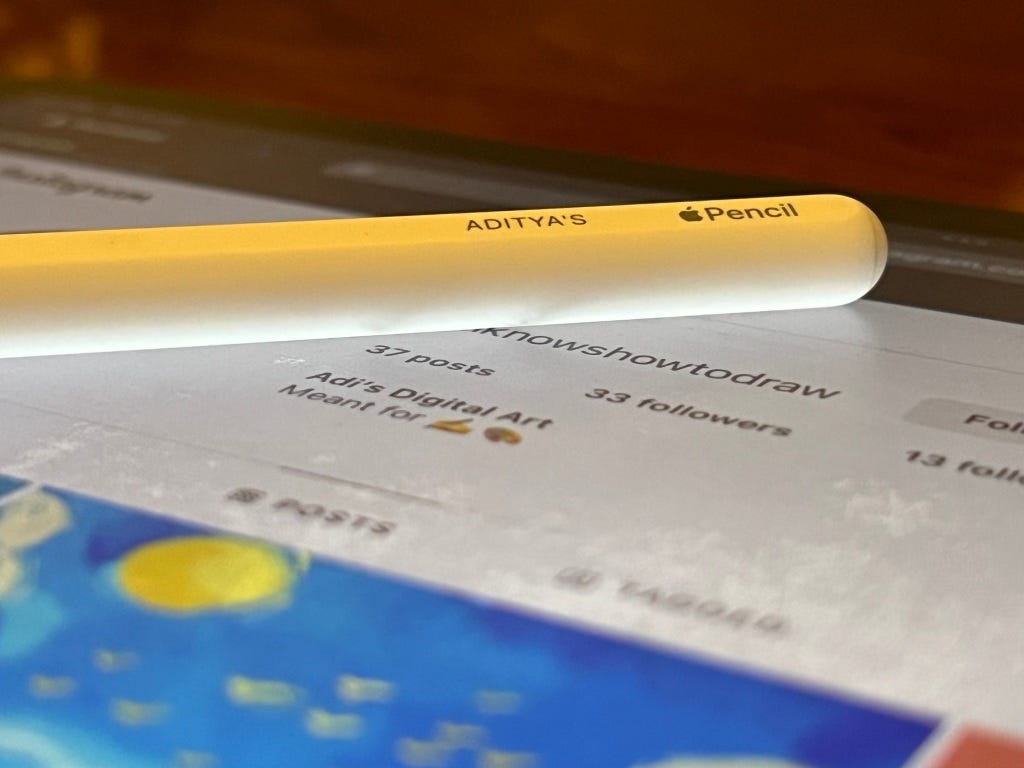
A stylus, as I mentioned before, is an absolute necessity. An Apple Pencil is recommended — more specifically the Apple Pencil 2. But if your iPad is a bit old and does not support the second-generation Apple Pencil, then the Pencil 1 would work fine too. You might miss some features but nothing that would keep you from creating some great artwork. A lot of OG iPad Digital Artists used to use the AP1 since its introduction in 2015 when there was no better alternative. I would agree that even some third-party styluses like Logitech Crayon do a fine job however, make sure you check their compatibility with your iPad model before purchasing.
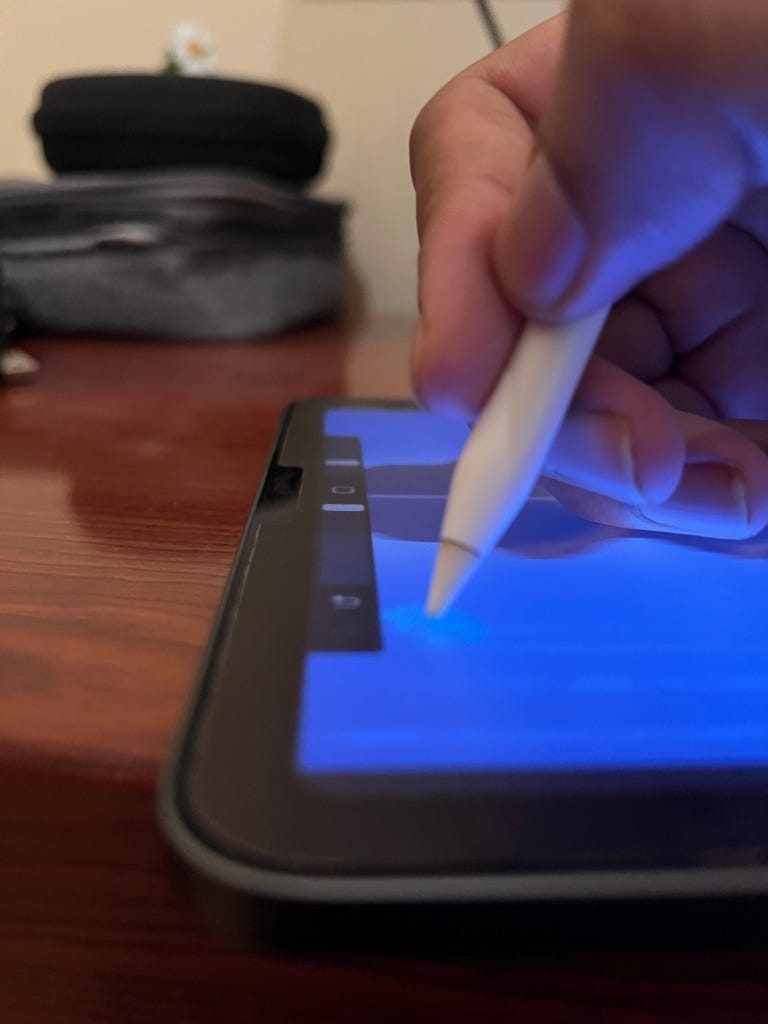
A second necessity, I feel, is a matte screen protector for your iPad’s display. The iPad’s display is very much prone to fingerprints and if you are going to use it for Digital Art, it is going to face a hundred times more finger smudges. A matte-screen protector reduces these finger/hand smudges a lot and makes the drawing experience very much like sketching on paper. The recommended brands for a screen protector would be Paperlike or ESR.
Step 2: App Conundrum — Procreate or Something Else?
A lot of those who try out Digital Art on iPad might say that Procreate is necessary to begin with. Having done this myself, four years ago, I would argue against it. Procreate offers you a canvas along with a bunch of tools for creating your artwork. However, if you are new to the world of drawing/sketching, I would make a skill-based distinction for the app you need:
Level 1: Absolute Beginner — “I know nothing about drawing or sketching… not even using pen and paper”
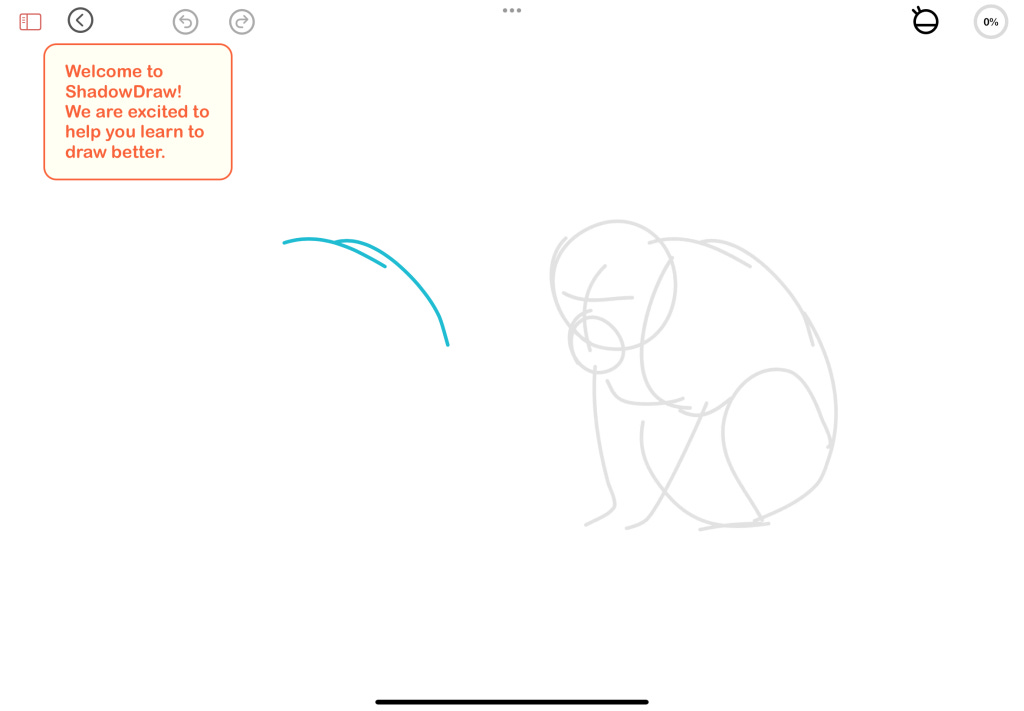
If you are an absolute beginner, I would recommend drawing apps that have built-in tutorials in them. My favorite ones are ShadowDraw and ArtWorkout. Both apps offer a free monthly trial so feel free to try out both.

ShadowDraw: Learn How to Draw
Are you ready to draw with a more confident hand? Learning how to draw better can be easy and fun! ShadowDraw has…apps.apple.com
ArtWorkout - Drawing & Sketch
* Apple Pencil support * Step-by-step guides * Stress-free, easy to learn, bite-size pieces * 500+ lessons * Suitable…apps.apple.com
What I love about these apps is that they offer you a move-by-move tutorial while sketching and help you understand the basics of Drawing. I have a bias towards ShadowDraw as it has a cheaper in-app subscription.

If you are an absolute beginner who knows nothing about drawing or sketching, head on to the App Store right away on your iPad and install these two apps. They are free to install and offer a free monthly trial for first-time users. Following the tutorials in this app, should get you ready for Level 2 or 3 and move ahead in your iPad Art Adventure.
Level 2: Intermediate Painter — “I can somewhat draw and sketch but not sure about iPad”
If you are not sure about drawing on an iPad, you are probably skeptical about spending your bucks on a paid app. In this case, we have some great alternatives to Procreate. First and foremost, being Sketchbook. Sketchbook offers a great amount of tools and a canvas to start with your iPad sketches.
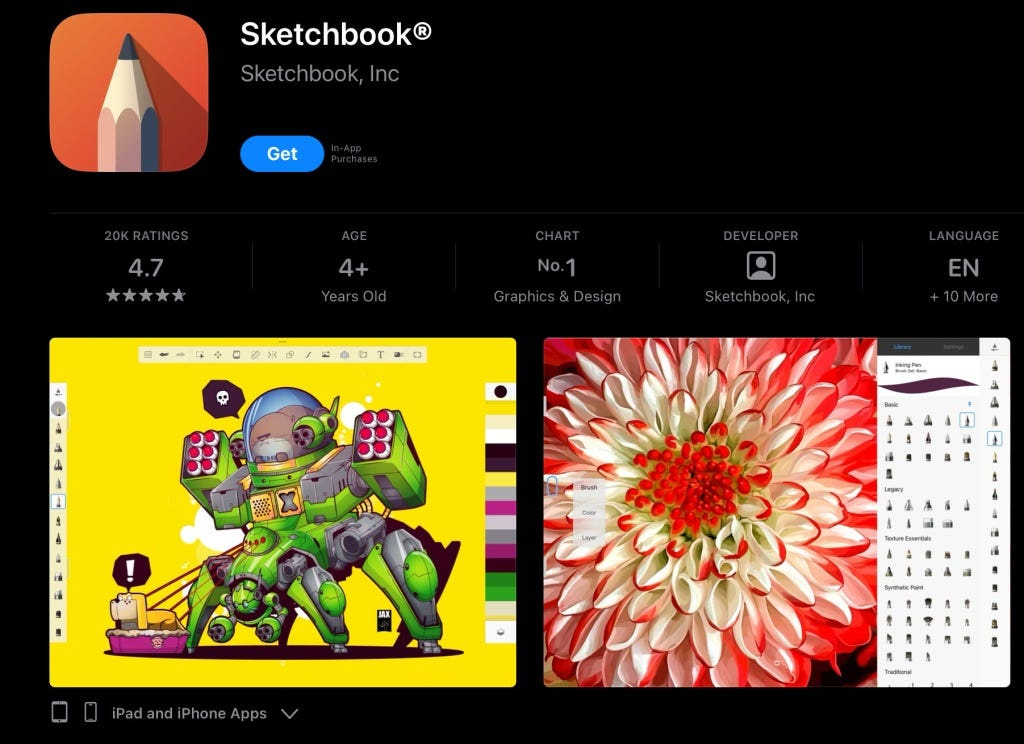
Sketchbook®
From quick sketches to fully finished artwork, Sketchbook goes where your creativity takes you. Sketchbook is an…apps.apple.com
There are also Tayasui Sketches which offer a great number of brushes and tools and a canvas to work on. Both Sketchbook and Tayasui have similar ratings on the App Store however Sketchbook has a cheaper in-app purchase for the pro version.
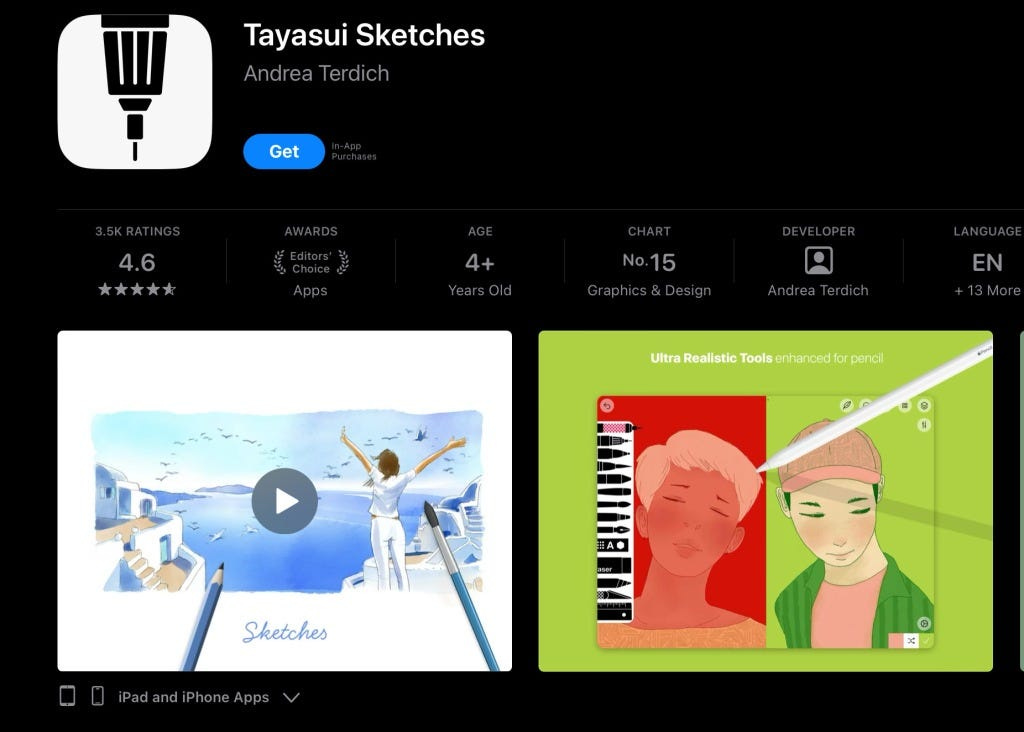
Tayasui Sketches
Because beautiful tools make beautiful drawings, we endlessly refined Sketches brushes to create the most realistic…apps.apple.com
These apps, even without purchasing the in-app subscriptions, should be enough for you to gain confidence in your artistic skills over time as you get creative on the digital canvas. If the digital canvas still seems very daunting to you, then you can skip to Step Three where we talk more deeply about following tutorials to learn the digital canvas.
Level 3: Pro iPad User — “I can draw on the iPad but need a Tutorial”
If you are a Pro iPad user (no, you don’t need an iPad Pro for that) and have used your stylus/Apple Pencil quite a lot of times with the iPad for note-taking and some necessary diagramming then all you need is a little bit push… with tutorials.
In this case, you are all set to install Procreate from the App Store. Don’t worry about the price — it’s a one-time purchase and you won’t regret it at all. But if paying for an app still makes you feel uneasy, you can go for free apps like Sketchbook or Tayasui Sketches, as mentioned in the previous level.
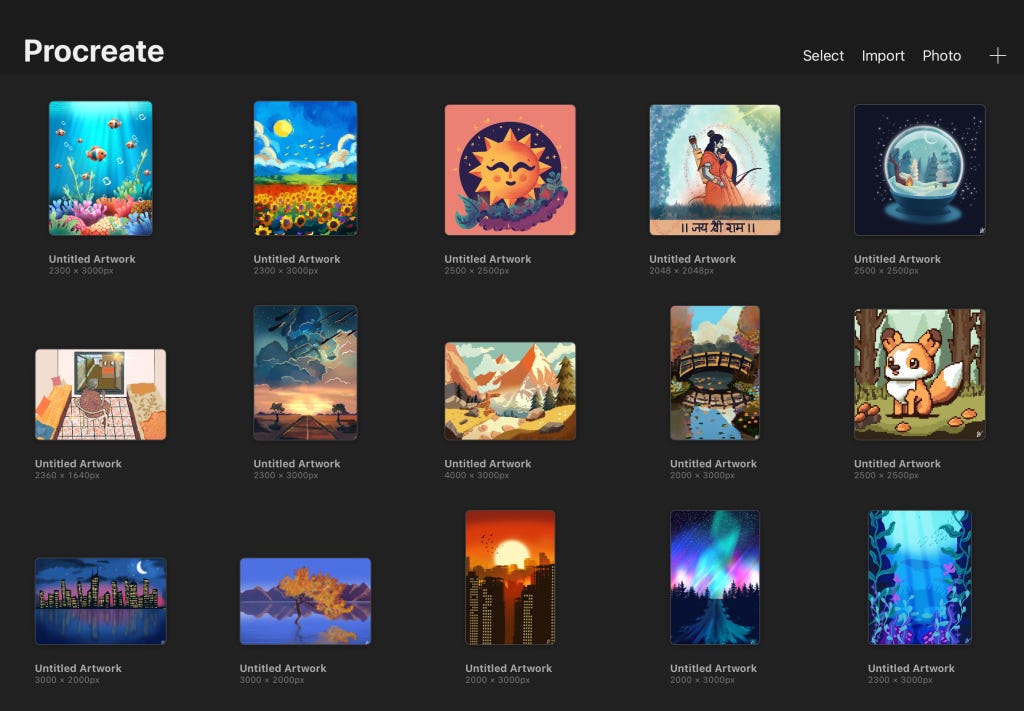
Procreate
Loved by creative professionals and aspiring artists alike, Procreate is the leading creative application made for…apps.apple.com
And now if you feel, the app conundrum has been sorted then we can finally move on to the main section of our guide — how to follow tutorials to best learn digital art on your iPad.
Step 3: Following Tutorials
Once, you have your app of choice and skill installed on your iPad, it is time to move towards learning to use them.
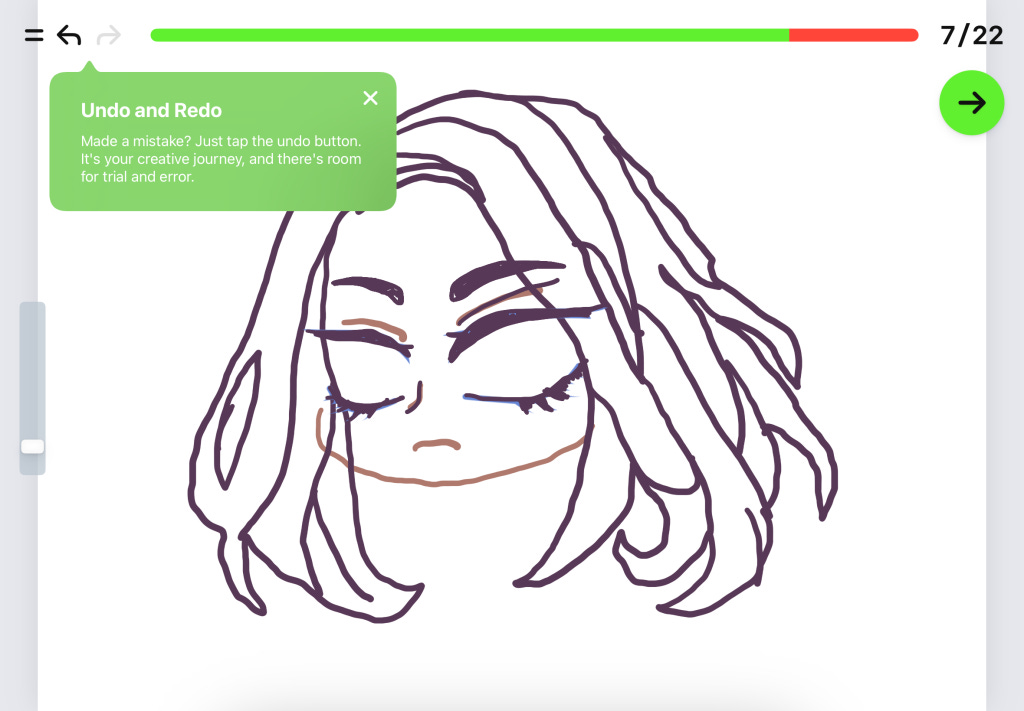
If you are using apps like ShadowDraw or ArtWorkout, then the tutorials are built into these apps. All you need to do is follow them and understand how basic gestures work while using your Pencil/Stylus with the iPad. After following a few tutorials, you can try drawing on a blank canvas to understand how you are progressing in your digital art adventure.

If you have installed canvas apps like Sketchbook, Tayasui, or Procreate, then you need to search for tutorials on platforms like YouTube. But again, you will find hundreds if not thousands of videos on YouTube that have such follow-up tutorials for the app you want to work on.
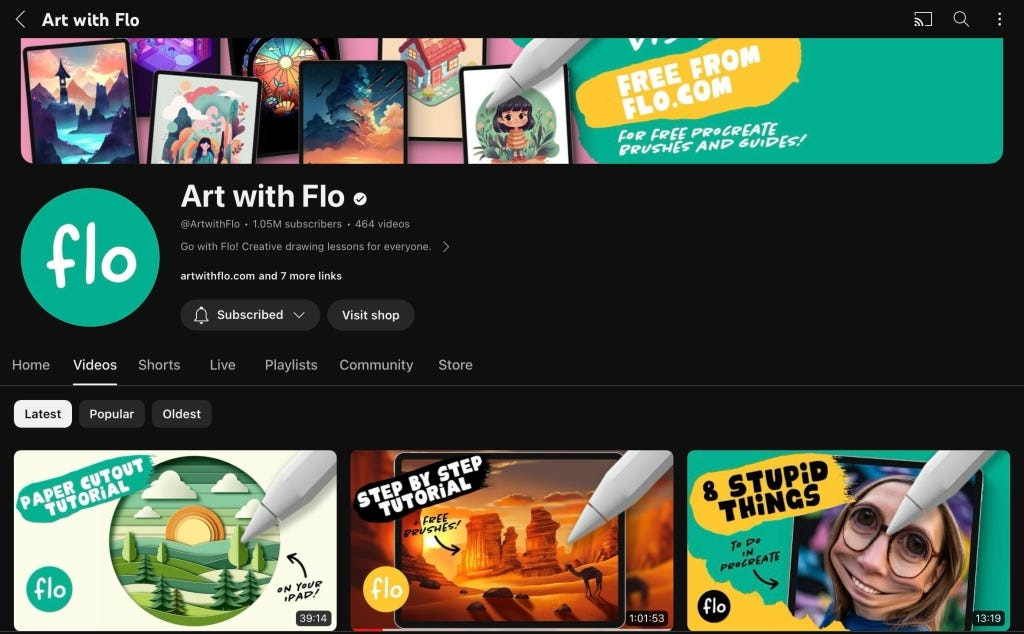
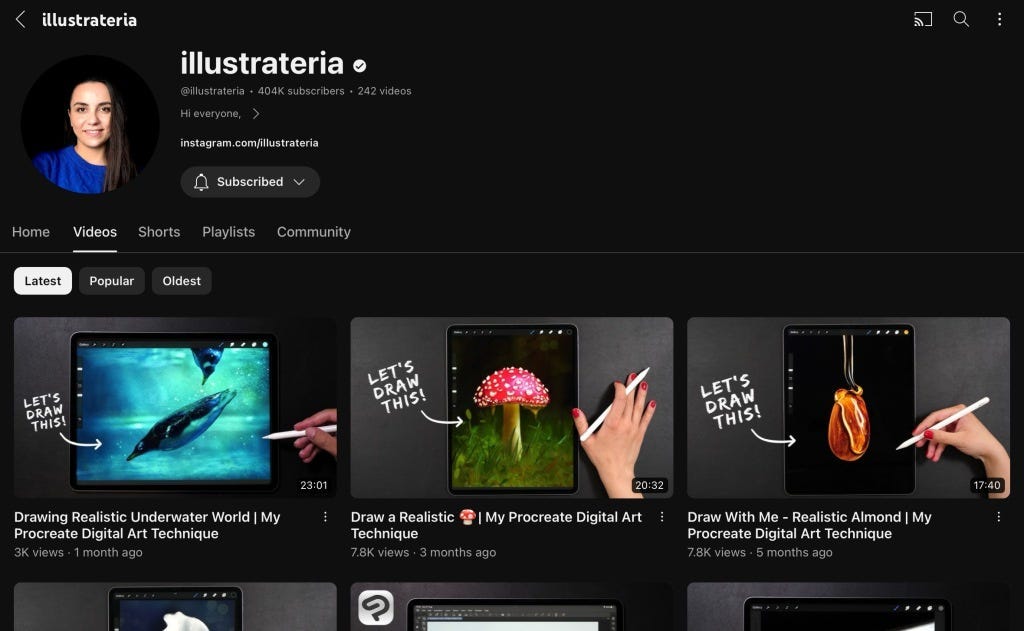
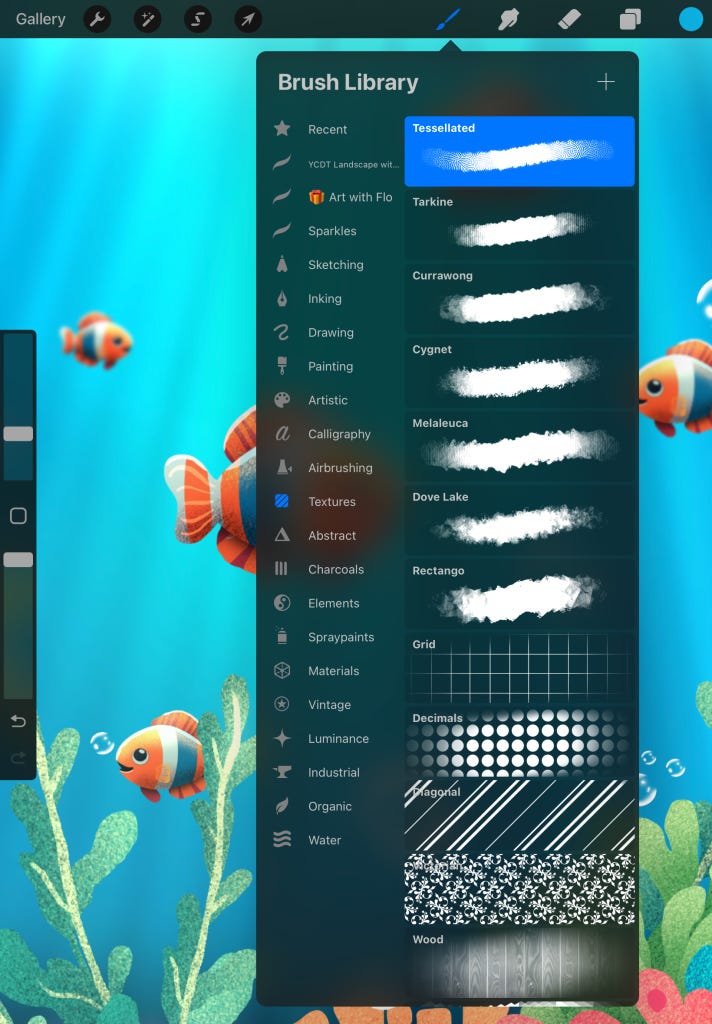
For the past few years, I have been following two YouTubers-cum-Digital Arts who use Procreate for their tutorials — Illustrateria and Art with Flo. Their tutorials are super fun and easy to follow. Both of them do a great job at making you familiar with Procreate, and the different tools and settings needed for creating certain artwork.
iPads are popular devices and even other canvas apps like Sketchbook and Tayasui are popular in the Artist Community so doing a quick search on YouTube for tutorials on those apps like ‘iPad Art Tutorial on Sketchbook’ will return a bunch of videos for you to get started with.
Just a quick detour… if you like such kind of tech stories, consider signing up for my email newsletter. It’s 100% FREE and will remain for all my lovely audience.
Subscribe to Aditya's Tech Newsletter!
Subscribe to Aditya's Tech Newsletter! Hey there! If you are interested in getting stories from the 🧑💻Tech space…adityadarekar.medium.com
Step 4: Learning the Technique
Probably the most important step in this tutorial.
Following tutorials of different artists on the Internet can help you learn different methods of creating artwork. You could learn oil paintings, comic sketching, realistic, Van Gogh-style, and a lot more. But what is more important is understanding the technique.
The technique(s) are mostly app-based. But they have a bigger scope. Once you settle with an app, you must learn how different settings and tools work within the app to create your art. Most of these settings such as creating layers, setting an alpha-lock on the layer, using different types of blur, etc, are common to many sketching apps.
Here is what I would advise:
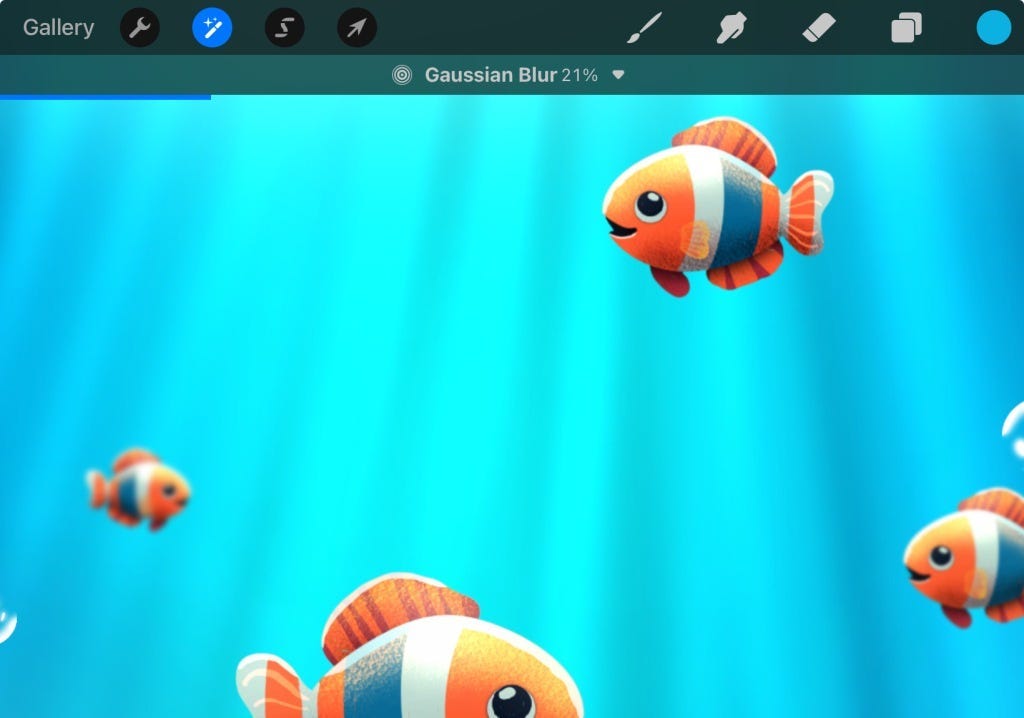
While following an online tutorial, try to understand where and when a certain setting/tool is being used. This will help you understand how it can be used in a different artwork to create the same effect. Say, you create a nature scenery artwork with the sun blazing in the daytime. You might use Gaussian blue to create the radiance around the sun. You can later use the same Gaussian blur technique for other planets and stars in future artwork.
2. Try to understand your Pencil’s settings. For your Apple Pencil, on your iPad, go to Settings >> Apple Pencil >> Double Tap. Try to configure the double tap on your Pencil for the most frequent action you perform such as switching between previously used tools or erasers, showing the color palette or ink attributes (brush settings). This can help you work faster and more efficiently on your canvas.

3. For every brush or tool you use — try to find at least two other alternatives to create a similar effect in your artwork. This will help you understand how all the different tools behave. Following a tutorial, might help you understand, say, 3–4 different brushes but when you explore on your own, you get to learn much more. This is why I call it an iPad Art Adventure and not a Journey — it’s all about exploring!
If you are a seasoned digital artist, you might have more techniques to share. In this case, just highlight and respond to this statement. I will make sure to add it and mention you in a future story about iPad Art Adventure.
And with that, we move on to Step Five!
Step 5: Sharing Your Work!
Another Important Step? No, but it might be for you.
Starting a new creative hobby can be difficult. Especially when it involves a bunch of learning curves around the tech you are using. It is important to stay motivated and keep exploring and learning along the way. In this case, it is important to find yourself a community to discuss and thrive in.
You can try to find other artists on Instagram and try to connect with them. Share your work on Instagram with all sorts of relevant hashtags so others can find your work and connect with you too. Finding a community is necessary to grow — new artist friends can help you explore different types of artwork and learn new techniques.
It’s been close to four years since I started my iPad Art Adventure and not everything has been great for me. While I do this mostly as a hobby, sometimes I feel a bit stuck when I look at my past few artworks. This is why I feel the need to share some things that I would do differently if I had to start all over again.
What I would do differently if I could start over?
Focus less on the result and more on the technique: To be honest, follow fewer tutorials once you feel you are getting the hang of it. Simply following tutorial after tutorial ended up numbing my exploration skills and instead of focusing on learning new techniques, I ended up only focusing on how beautiful the artwork looked on the tutorial video’s thumbnail.
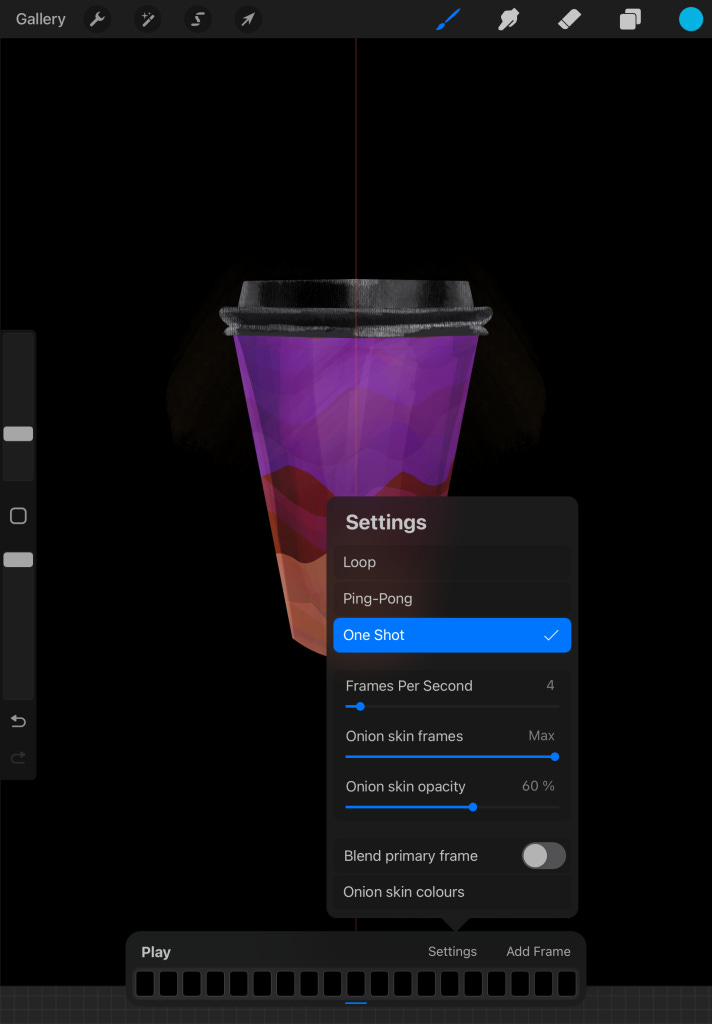
Focus on one thing: Another mistake I made was trying out animation within Procreate. I fell in love with it and even went on to install Procreate Dreams when it came out. As a result, my focus is now distributed between two streams — drawing and animating. Consequently, I end up doing less of both. The lesson to be learned is probably to stay away from animation for the first few months when you are getting started with Digital Art as a rookie.
Find a community: I cannot stress this enough. For the past two years, I have been sharing all my artwork on Instagram, I realized that simply posting your work is not enough. You need to start to actively find other artists and reach out to them — understand their tools, and techniques and learn from their mistakes too.
Conclusion
Since I started my Digital Art Adventure four years ago, I have been eager to share it with someone — probably an audience that shares the same enthusiasm about iPads as me. They are a brilliant piece of technology. But people often regret not being Pro enough for their powerful iPads. This story was aimed to turn such arguments into moot. Often the first step you need to take as a Pro user is simply to install a free app from the App Store and watch a tutorial on YouTube about it.
And so I urge you too — if you have made this way in the story, you are the perfect iPad Art Adventurer. So head on to the App Store install an app (based on the skill distinction we made in Step 2) and get started with Digital Art today itself.
Go on, I am waiting…
And if at all you made it to a certain step in this guide and got stuck there, just comment down below and I will surely revert as soon as possible. And in case you made it to the very end and are about to share your work, don’t forget to follow me on Instagram and ping me so we can connect and talk about our Digital Art Adventure.
If you like such kind of tech stories, consider signing up for my email newsletter. It’s 100% FREE and will remain for all my lovely audience.
Subscribe to Aditya's Tech Newsletter!
Subscribe to Aditya's Tech Newsletter! Hey there! If you are interested in getting stories from the 🧑💻Tech space…adityadarekar.medium.com

Originally published on adiexplains.wordpress.com on June 4, 2024